Let's Workshop: 20x4 LCD Module and I2C Adapter
Posted by Sebastian Karam on
Here is a quick introduction to using 20x4 LCD Module with the help of an PCF8574T I2C backpack. This will provide you with an entry point to using LCD modules and help give you the confidence to begin using them in your projects.
This example will demonstrate the use of an Arduino UNO in communicating with the display through an I2C interface chipset to display text on the screen. This will use the Extensible hd44780 LCD library created by Bill Perry to interface with the display through the PCF8574T chipset.
Components
- 1pcs Arduino UNO or Compatible - LCAA100005
- 1pcs 2004A Blue LCD Module - BCAA100203
- 1pcs PCF8574T I2C Interface Adapter - BCBA100201
- 4pcs Male to Female Jumper Cables - GBAA100002
Wiring
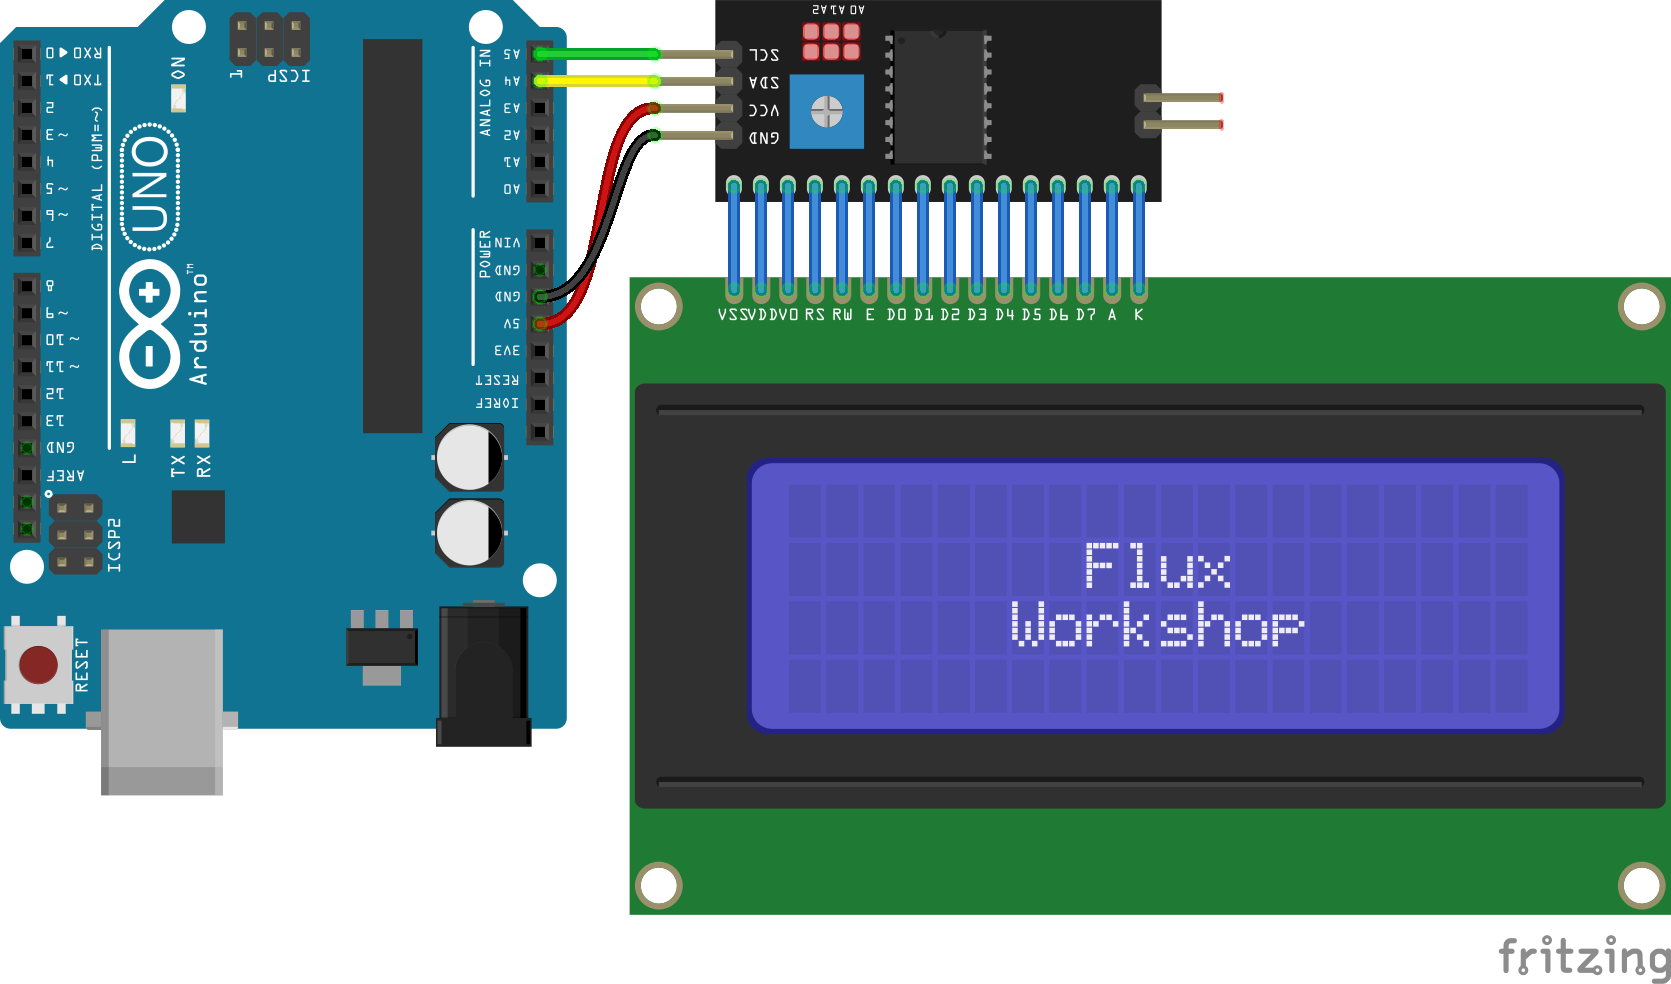
Wire the three boards together as can be seen in the image below, taking care to match the pin numbers. Ideally solder the LCD and backpack together to produce more reliable results.

Coding
The code consists of an include, initialisation and print. First the Extensible hd44780 LCD library is linked to the code along with it's associated elements. This is followed by the initialisation of the display object. In this example the setup contains the main program. It starts with an initialistion of the lcd at the correct coloumn/row count. Next we set the cursor to the correct position and print text to the display, repeating for the second row.
Load the code below into the Arduino IDE and upload it to your board.
/* A simple program designed to setup and demonstrate the Extensible hd44780 library, a 20x4 LCD display and PCF8574T I2C backpack. The program uses the hd44780 library to initialise a the LCD display and backback. The cursor is then positioned and text written. modified 16 May 2019 by Sebastian Karam - Flux Workshop The Extensible hd44780 LCD library created by Bill Perry https://github.com/duinoWitchery/hd44780 */ #include// include the default Arduino Wire library #include // include the Extensible hd44780 LCD library #include // include the i2c expander class header hd44780_I2Cexp lcd; // initialise an lcd object void setup() { lcd.begin(20, 4); // initialise the lcd interface using the 'lcd' object lcd.setCursor(8,1); // position the cursor for writing 'Flux' lcd.print("Flux"); // print a message to the LCD lcd.setCursor(6,2); // position the cursor for writing 'Workshop' lcd.print("Workshop"); // print a message to the LCD } void loop() { // not used in this example }
Running
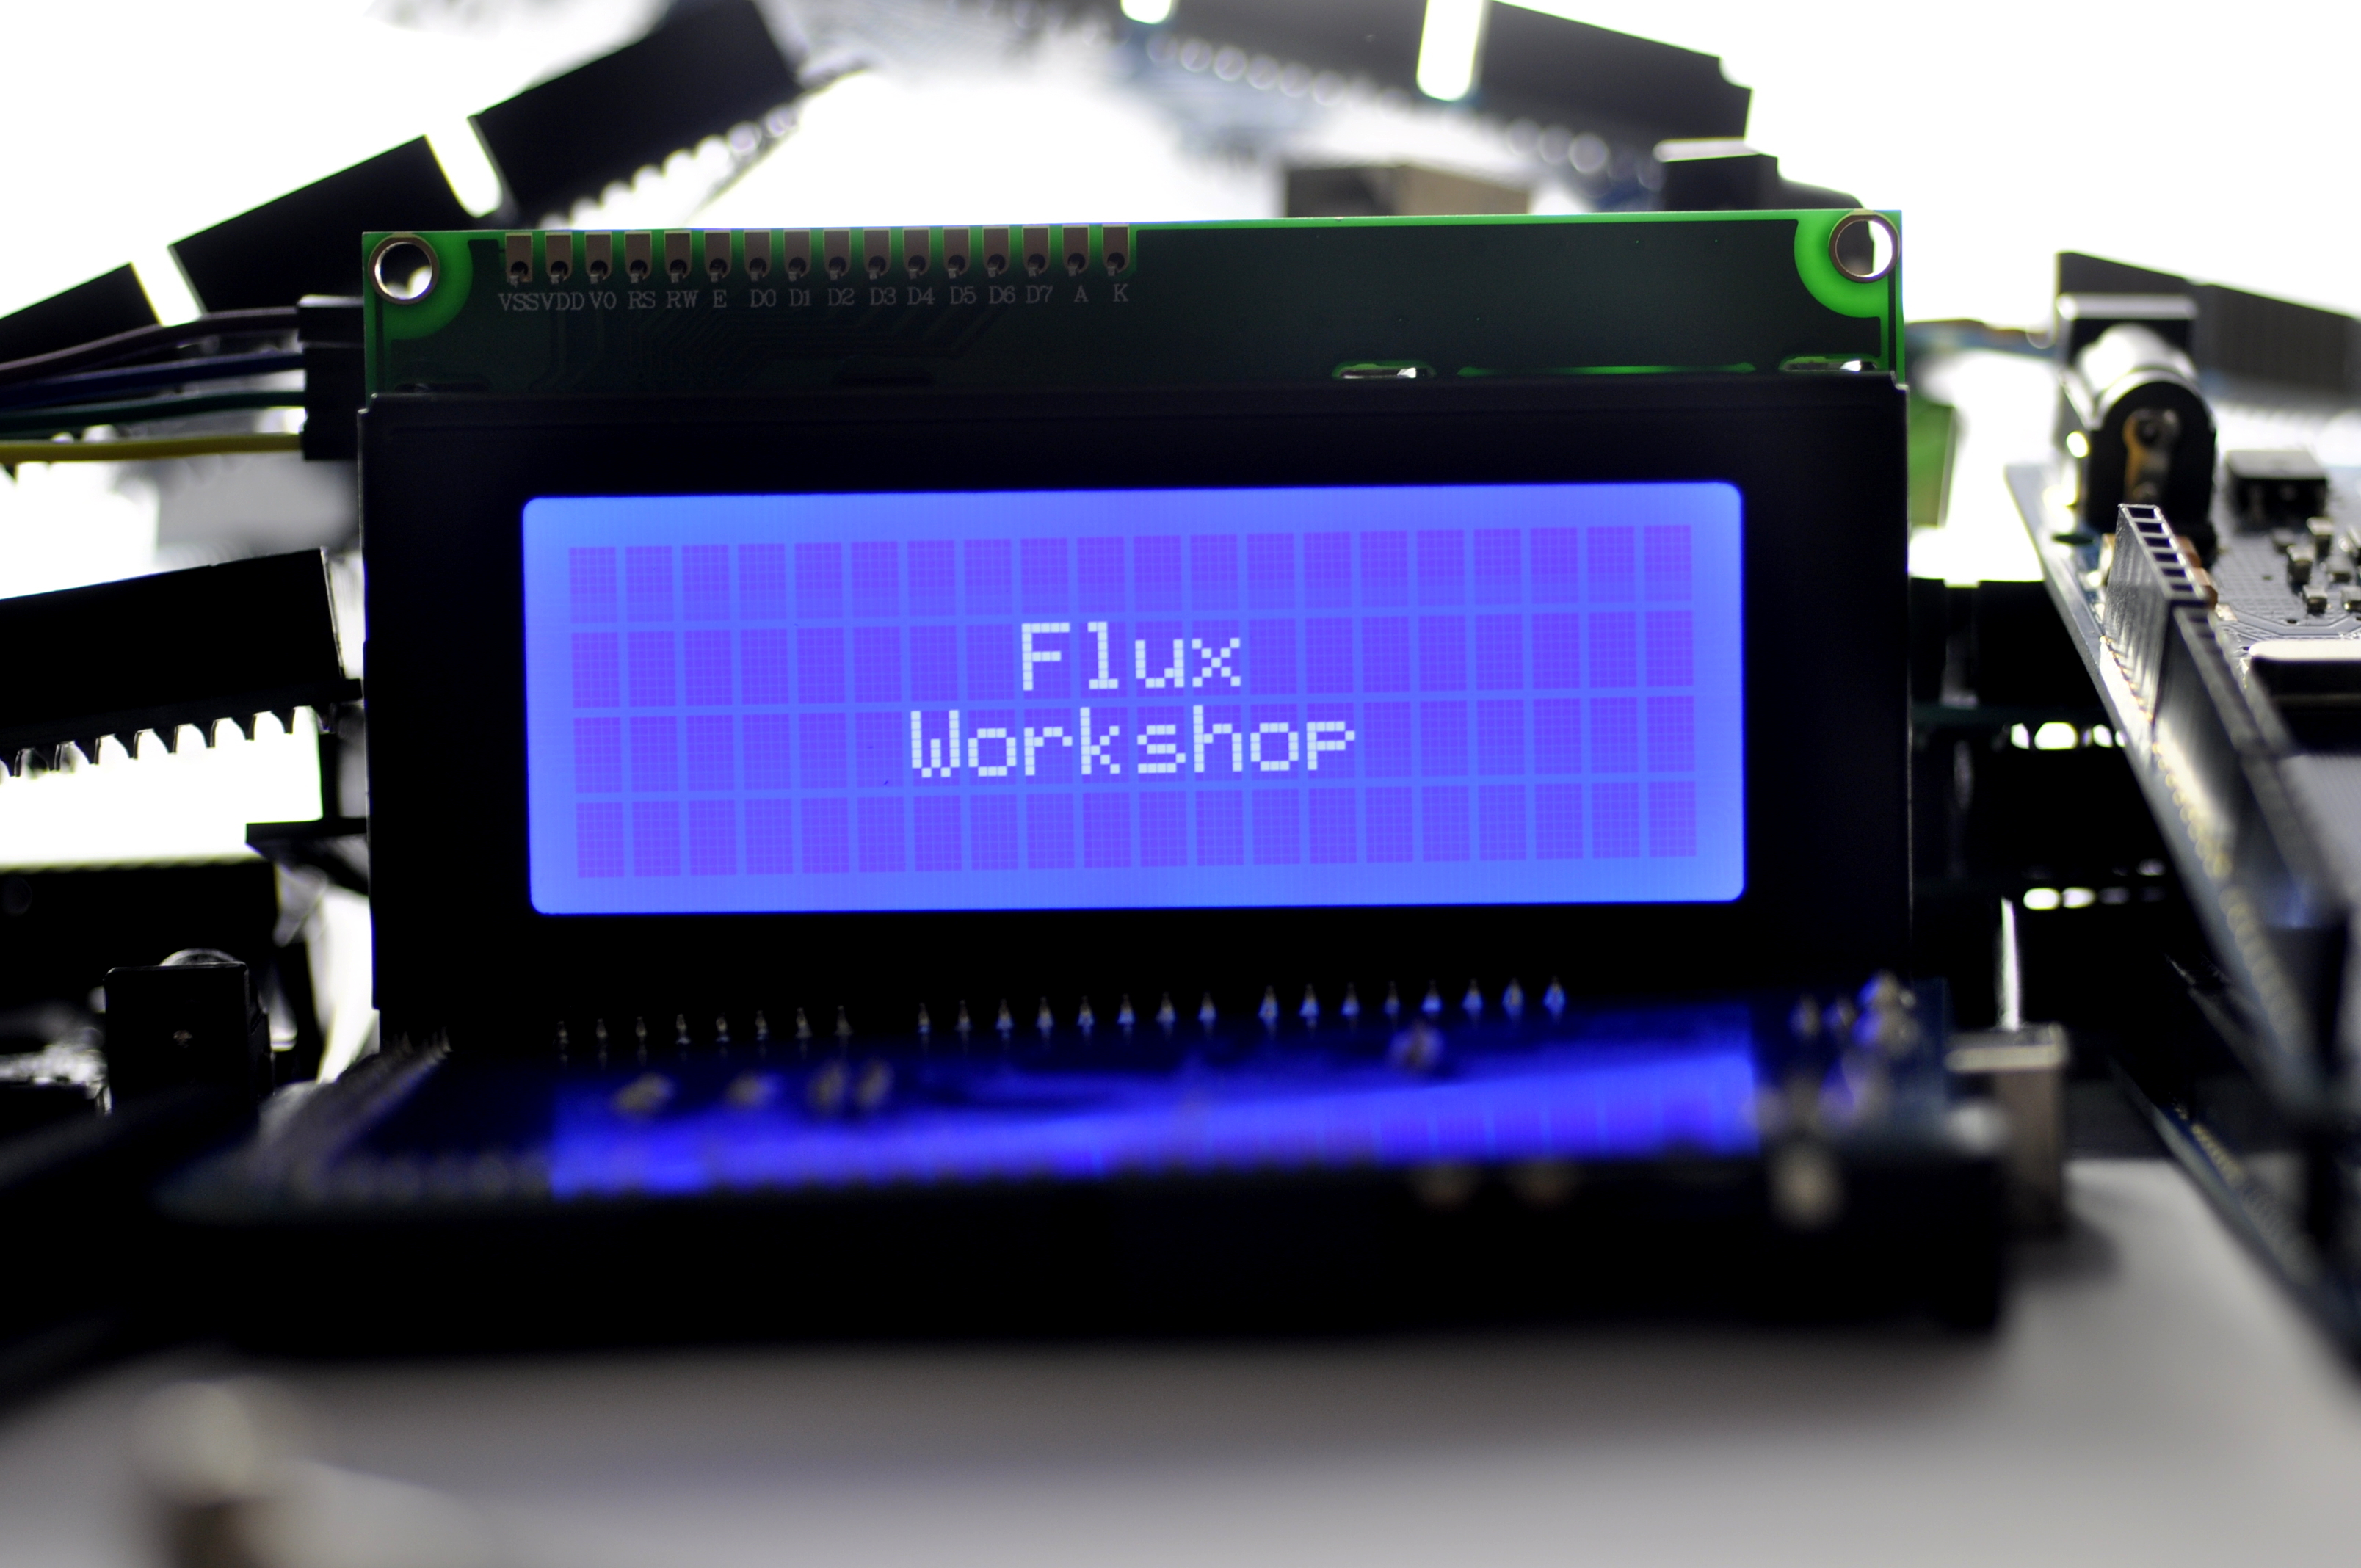
With the board loaded with the program and all the connections made the screen will produce an output like the one seen below.

What to try next?
- Investigate further display functions
- Update the screen regularly to produce a readout
- Use hd44780_I2Clcd lcd(i2c_addr) to add in more displays on different I2C addresses
Share this post
- 96 comments
- Tags: 2004A, Arduino, BCAA100203, BCBA100201, HD44870, LCD, PCF8574T, UNO

Девочки, Нашла на сайте www.odezhda-krasnodar.ru большой ассортимент нинего белья, очень низкие цены настораживают. Кто-нибудь покупал у них белье? Подскажите, как качество?