Let's Workshop: Keyes DHT11 Temperature and Humidity Module
Posted by Sebastian Karam on
Here is a quick introduction to using the Keyes DHT11 Temperature and humidity module. Hopefully it will provide you with the confidence to integrate climate sensing into your project.
This example will demonstrate the use of an Arduino UNO reading byte data from the sensor. Once connected and the program loaded, it will read the temperature and humidity, every second and a half (the sensor has a refreshes it's reading every second). This will use the SimpleDHT library library created by Winlin.
Components
- 1pcs Arduino UNO or Compatible - LCAA100005
- 1pcs Keyes DHT11 Temperature and Humidity Sensor Module - BDAA100058
- 3pcs Male to Female Jumper Cables - GBAA100002
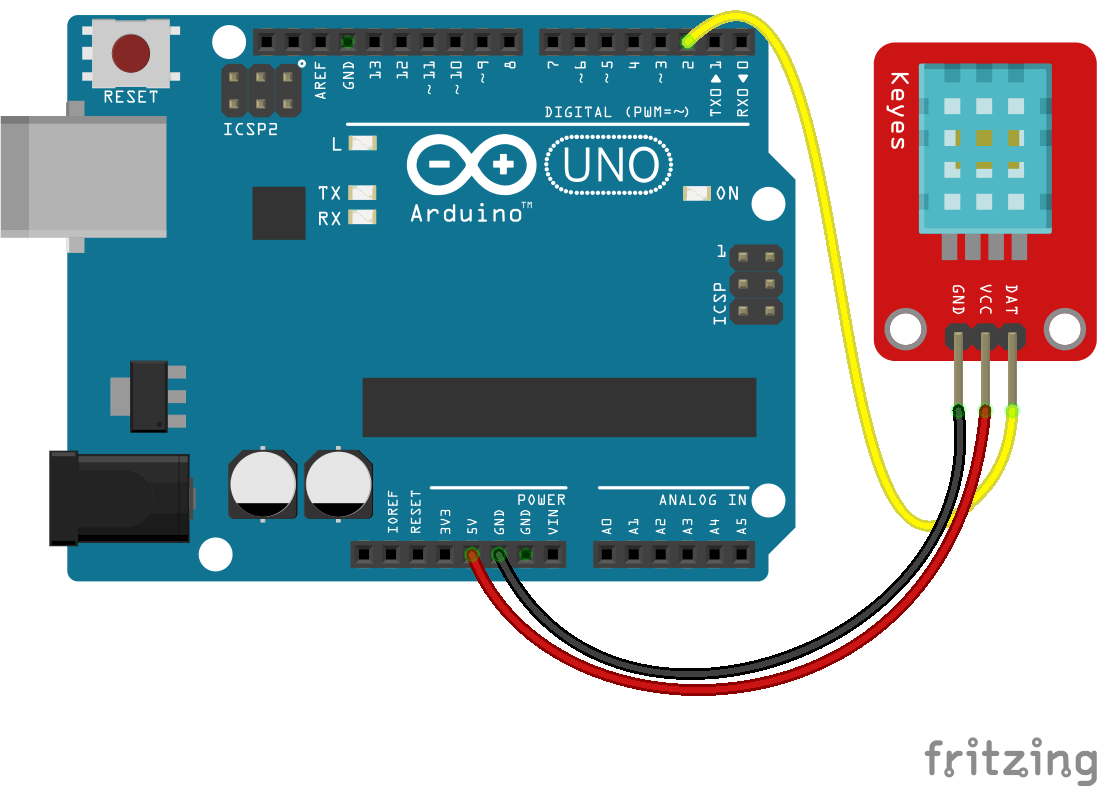
Wiring
Wire the two boards together as can be seen in the image below, taking care to match the pin numbers.
Coding
The code consists of an include, definitions, initilisation, setup and loop. First the SimpleDHT library is linked to the code. This is followed by the initilisation of the sensor object used by the library and the pin it is connected to. The setup initilises the serial connection. The loop requests the temperature and humidity from the library, storing it in the byte variables declared. The values are then output to the serial connection, pausing for a moment and repeating.
Load the code below into the Arduino IDE and upload it to your board.
/* A simple program designed to setup and demonstrate the SimpleDHT library and Keyes DHT11 Temperature and Humiditiy Module - BDAA100058 The program uses the SimpleDHT library to interface with the module and return a temperature and humidity to the serial monitor. Then repeat the request. modified 31 May 2019 by Sebastian Karam - Flux Workshop The SimpleDHT library created by Winlin https://github.com/winlinvip/SimpleDHT */ #include// include the SimpleDHT library int sensorPin = 2; // define the pin the sensor is connected to SimpleDHT11 dht11Sensor(sensorPin); // create the sensor object void setup() { Serial.begin(9600); // initialise the serial connection } void loop() { byte temperature = 0; // define a variable to store the temperature byte humidity = 0; // define a variable to store the humidity dht11Sensor.read(&temperature, &humidity, NULL); // read the values from the DHT11 Serial.println("-------------------"); Serial.println((String)"Temperature: " + (int)temperature + "degC"); // send the result to the serial monitor Serial.println((String)"Humidity: " + (int)humidity + "%"); // send the result to the serial monitor delay(1500); // pause for a moment before repeating }
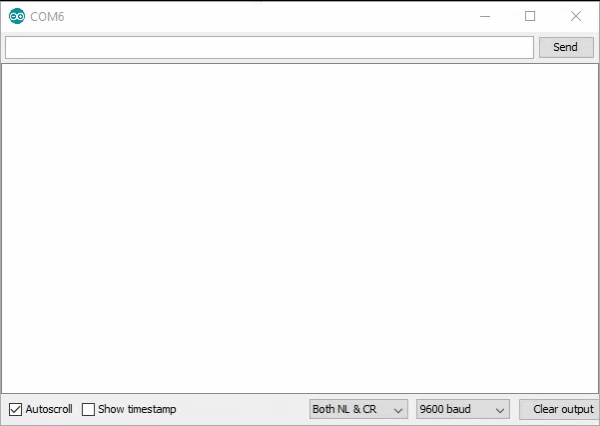
Running
With the board loaded with the program and all the connections made, start the serial monitor. An initial value for the temperature and humidity will appear. The output should be as seen below (in this instance, held free, then moist air blown momentarily across it).
What to try next?
- Output the values to an LCD screen.
- Mount the sensor in a sheltered container outside and relay the information on to provide a weather report.
Hi fluxworkshop.com owner, Thanks for the well written post!